789

How to Make Your Own Incense Cones at Home: A DIY Guide

Creating incense cones at home is both a rewarding and relaxing experience, connecting you with the ancient tradition of incense crafting. In this blog, we’ll explore two detailed methods to transform high-quality incense powder into beautiful, fragrant cones right in your own kitchen.

1. Why Make Your Own Incense Cones?

Homemade incense cones allow you to personalize scents and create unique aromas tailored to your preferences. By crafting incense cones yourself, you can ensure the use of natural, high-quality ingredients, such as the premium incense powders available at Incensoria. Another wonderful benefit is the flexibility to blend multiple incense powders, creating your signature fragrance combinations.

Method 1: Using a Natural Binder (Detailed Guide)

What You’ll Need:

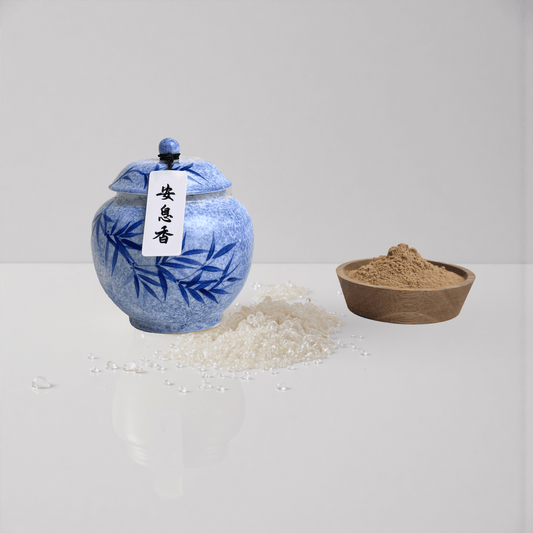
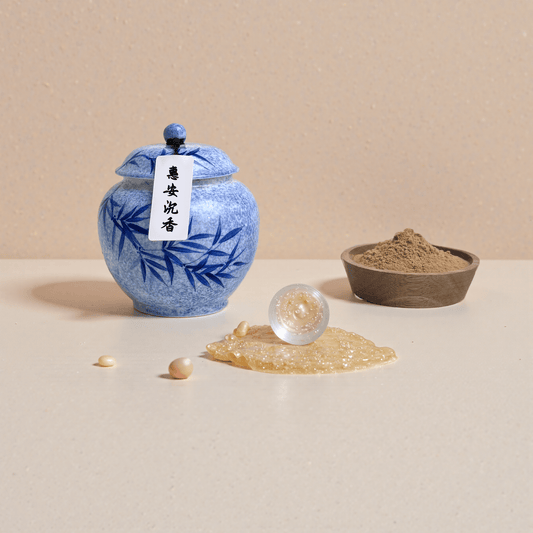
  • Incense Powder (choose your favorite or blend multiple powders, such as sandalwood, agarwood, or frankincense)
  • Natural Binder (makko powder or gum arabic, approximately 10%-20% of the total incense powder weight)
  • Water (preferably distilled, ratio of total dry mixture to water should be about 1:1 to 1:1.5)
  • Incense Cone Mold (or shape by hand if preferred)

Step-by-Step Instructions:

  1. Mix Ingredients: Measure your incense powder and add the natural binder (about 10%-20% of the incense powder weight). Mix thoroughly until fully combined.
  2. Add Water Gradually: Slowly add distilled water, stirring continuously. Aim for a dough-like consistency, firm yet malleable enough to shape without breaking apart.
  3. Shape Cones: Press the incense dough into your cone mold firmly, ensuring there are no air pockets. You can also shape cones by hand, forming a tapered shape.
  4. Drying Process: Set your cones on parchment paper or a tray and allow them to dry naturally in a cool, ventilated area. Drying typically takes 24-48 hours, rotating the cones occasionally ensures even drying.
  5. Storage and Use: Once completely dry, store your cones in an airtight container. Properly stored cones maintain fragrance and can be used anytime. Light the tip, extinguish the flame after it glows, and enjoy the fragrance.

Method 2: Direct Molding without Binder (Quick Method)

What You’ll Need:

  • Incense Powder (fine and formulated specifically for direct molding)
  • White Ash (for protective layering)
  • Incense Cone Mold
11_2b08bec9-ecff-4934-a491-0c26d13f0f1e

Creating your own incense cones using incense powder is easy and satisfying. Follow these steps:

  1. Fill the mold: Gently fill the incense cone mold with incense powder, making sure it’s packed evenly.
  2. Flatten and press: Lightly press and smooth the surface of the powder to ensure a compact form.
  3. Attach the base: Cover the top of the mold with the matching base plate.
  4. Flip the mold: Hold the mold and the base together firmly, and carefully turn them upside down.
  5. Gently rotate and loosen: Gently twist the mold while lifting it upward to release the shaped incense cone.
  6. Complete the cone: Remove the mold completely to reveal the finished incense cone.

How to Burn Incense Cones

  1. Light the tip: Use a lighter or match to ignite the pointed tip of the cone. Let it burn for a few seconds.
  2. Enjoy the fragrance: Blow out the flame gently, allowing the cone to smolder and release a steady stream of smoke for you to enjoy.

Handmade cones offer a simple yet intimate way to engage with incense, blending hands-on creation with quiet appreciation.

Key Differences Between the Methods:

  • Durability and Storage: Method 1 cones, using a binder, are durable and excellent for long-term storage or gifting. Method 2 produces cones ideal for immediate use due to their fragility.
  • Preparation Time: Method 1 requires additional drying time, making it suitable for planned, leisurely crafting. Method 2 is quicker, great for spontaneous incense making.

Additional Tips for Optimal Results:

  • Ensure cones from Method 1 are thoroughly dried to maximize their burning quality.
  • Handle cones, especially those from Method 2, gently to avoid breakage.
  • Store incense cones properly in airtight containers away from humidity and sunlight to preserve their aromatic integrity.

Benefits of Making Your Own Incense:

  • Customization: Combine multiple incense powders to craft personalized fragrances.
  • Quality Assurance: Choose your ingredients, ensuring pure, natural components without artificial additives.
  • Creative Expression: Experimenting with incense crafting is a relaxing and creatively fulfilling activity.
At Incensoria, our high-quality, finely ground incense powders are perfect for DIY incense crafting. Each powder is pure, natural, and specifically crafted for optimal burning performance and exceptional aromatic quality.

Start your DIY incense-making journey today by exploring our diverse collection of incense powders at Incensoria!

More to Explore

If you enjoyed this article, here are a few more you might like.
Electric Incense Burner Guide: The Cleanest Way to Burn Incense Powder

Electric Incense Burner Guide: The Cleanest Way to Burn Incense Powder

Discover how electric incense burners offer a clean, customizable, and flame-free way...
Read more
How to Light a Backflow Incense Burner Correctly — and Keep It Clean

How to Light a Backflow Incense Burner Correctly — and Keep It Clean

Learn how to properly light and clean a backflow incense burner to...
Read more
How to Burn Incense: A Simple Guide for Beginner

How to Burn Incense: A Simple Guide for Beginner

A beginner-friendly guide to burning incense using powder, cones, or backflow. Learn...
Read more
How to Use Incense Powder: Traditional Methods and DIY Techniques

How to Use Incense Powder: Traditional Methods and DIY Techniques

Discover the most traditional and modern ways to use incense powder. This...
Read more
How to Use Incense for Meditation: When the Fragrance Fades, You Return

How to Use Incense for Meditation: When the Fragrance Fades, You Return

Discover how to use incense in meditation as a quiet guide for...
Read more
Comments

No comments

Leave a comment